
Recording Yourself on a Mac
Recording podcasts remotely is a great way to connect and produce content. Depending on your internet connection though, you can experience some drops in the quality of the recording. By self-recording a backup on your computer you can ensure there is a high quality version without any connection issues. This guide will take you through that process for a Mac, if you use Windows follow this guide.
Open QuickTime by clicking the magnifying glass in the upper right corner and type “QuickTime”. No window will appear.

At the top of the screen, select File and choose New Audio Recording.

A window will appear on the desktop. Click the down arrow beside the red record button to select the correct microphone input.

To start the recording click the red record button on the recording toolbar, if the time starts going up it’s working.
When you are finished recording, click the stop button on the recording toolbar.

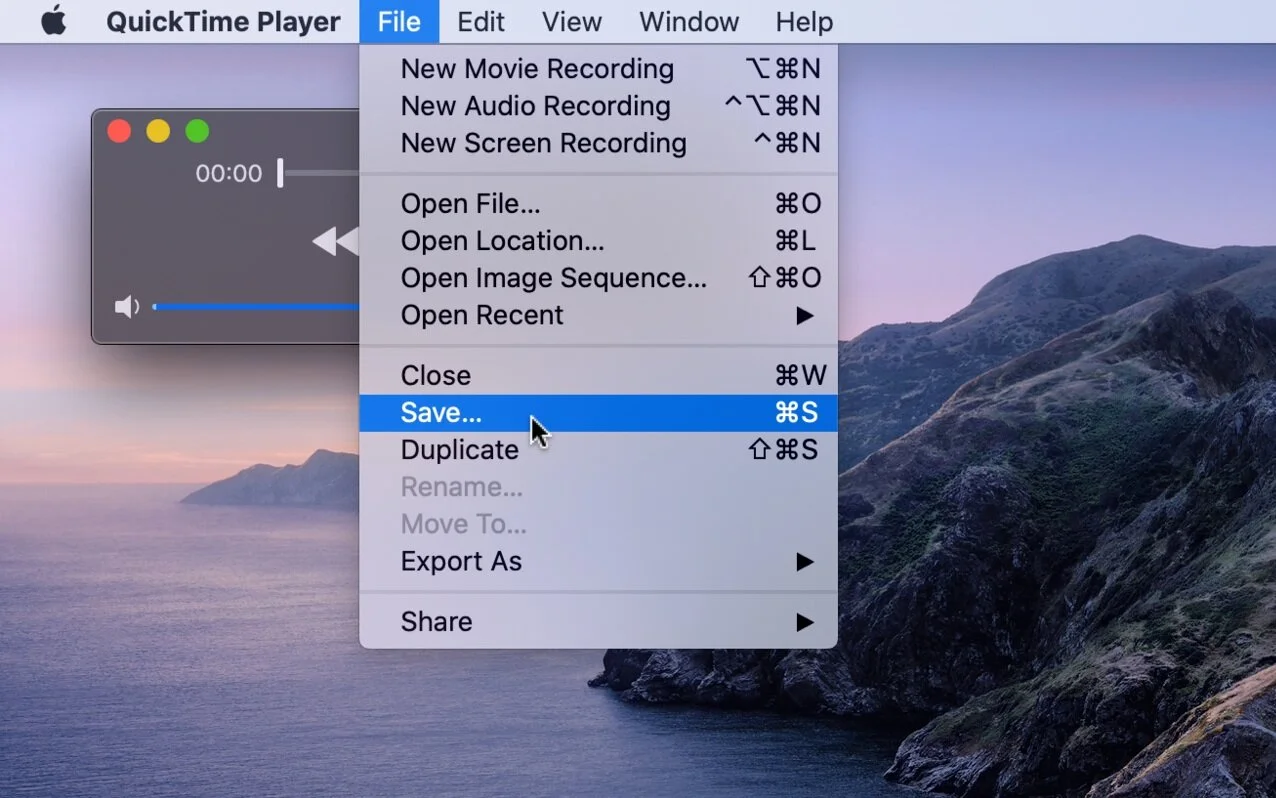
To save your recording go to File and click Save.
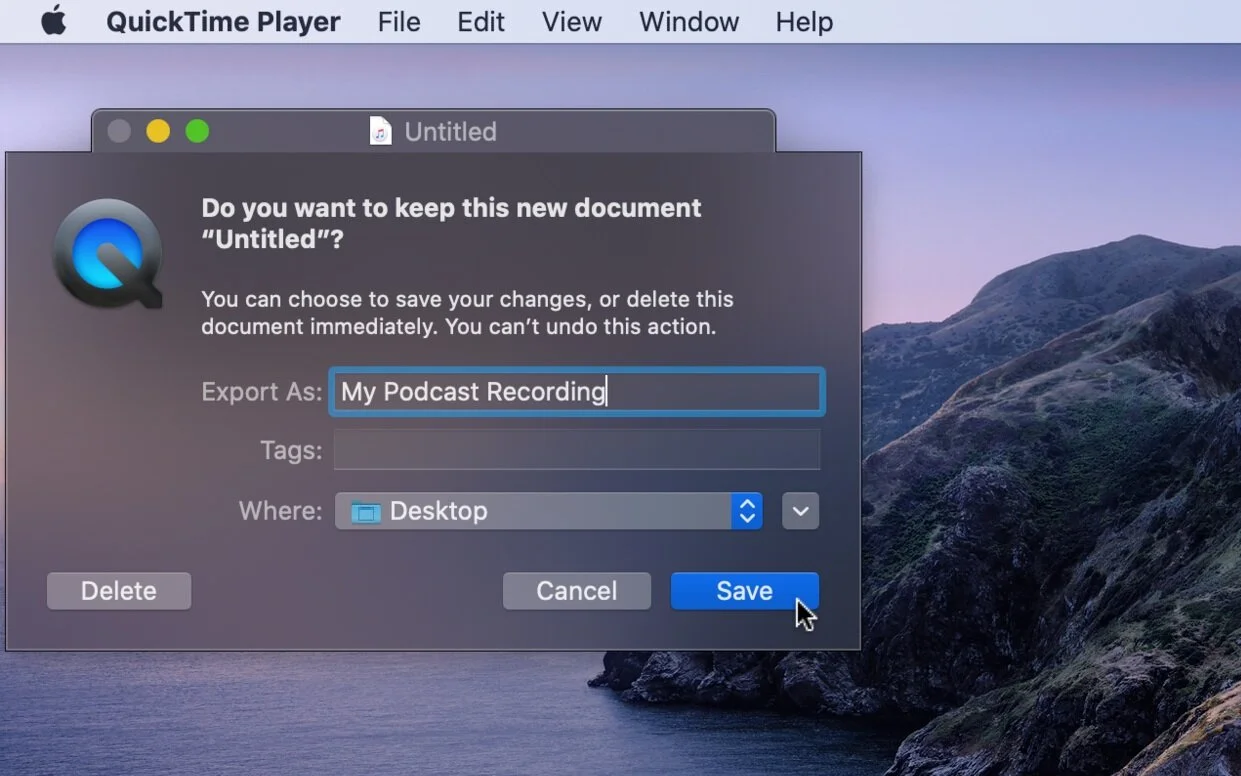
You will be able to select where your recording is saved to and rename it.
These files will generally be too large to email, so you can share it with your preferred app. WeTransfer.com is a great site for sending files too large to be shared in other ways. Simply select the file you wish to share, and enter the email you wish to share it to, along with your email.
